Sharp PN-455RU Istruzioni per gli Interventi
Navigare online o scaricare Istruzioni per gli Interventi per Display a LED Sharp PN-455RU. Sharp PN-455RU Operating instructions Manuale Utente
- Pagina / 62
- Indice
- RISOLUZIONE PROBLEMI
- SEGNALIBRI
- LCD MONITOR 1
- INFORMATION: 2
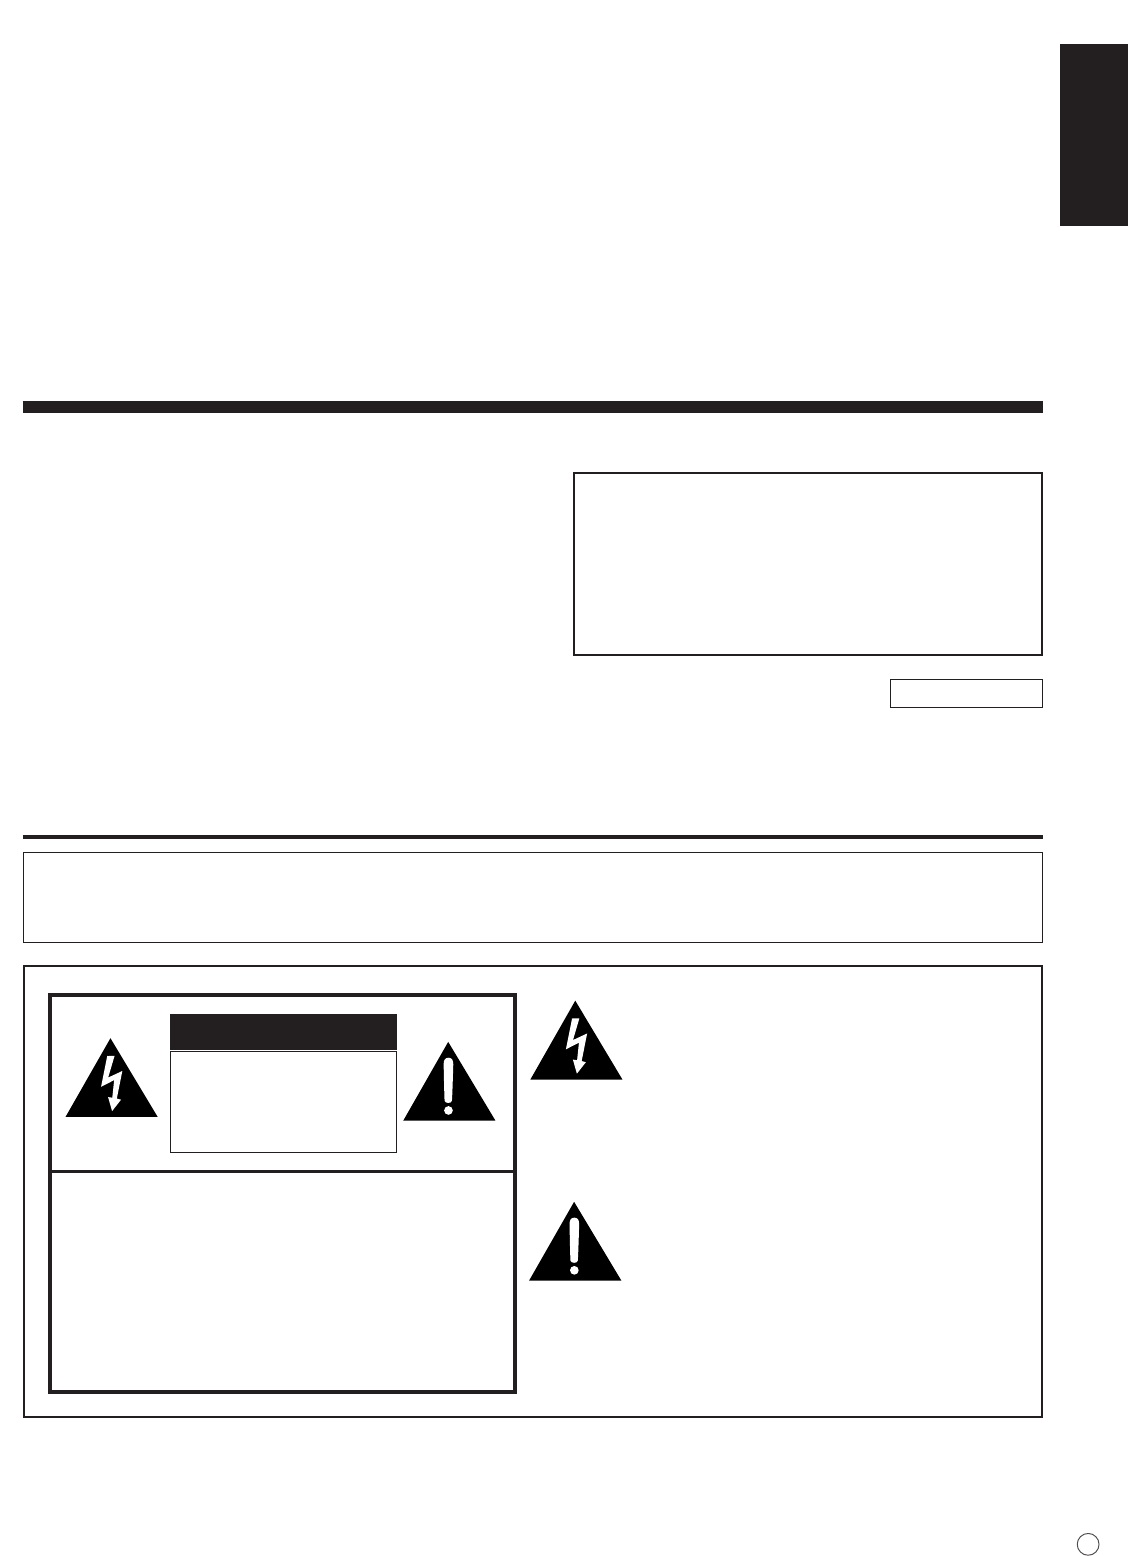
- SAFETY PRECAUTIONS 3
- DEAR SHARP CUSTOMER 3
- WARNING: 4
- TIPS AND SAFETY PRECAUTIONS 5
- Contents 6
- Features 7
- Supplied Accessories 8
- Part Names - Display 9
- (Continued) 10
- Remote control unit 11
- INPUT1 (PC DIGITAL) 13
- INPUT3 (COMPONENT) 15
- PC ANALOG RGB OUTPUT TERMINAL 17
- AUDIO OUTPUT TERMINAL 17
- Connecting External Speakers 18
- Connecting the AC Cord 19
- Connecting Multiple Monitors 20
- Mounting Precautions 21
- Mounting the Temporary Stands 22
- Bundling Cables 22
- ▼ Rear view 23
- Turning on Power 24
- Remote Control Unit 25
- Menu Items 26
- 2. Press 27
- 5. Press 27
- Menu Items (Continued) 28
- 3. Press 29
- Settings and Adjustments 30
- ■ GAIN CONTROL (INPUT2) 31
- ■ WHITE BALANCE 31
- (Continued) 32
- ■ MODE SELECT 1 33
- ■ Enlarge 33
- Installing set-up information 37
- PC Operation 38
- Communication conditions 39
- PC Operation (Continued) 40
- Advanced operation 41
- Carriage return code 45
- RS-232C command table 47
- Picture Adjustment (INPUT2) 49
- Special Control 51
- Troubleshooting 52
- ■ Product Specifications 54
- Dimensional Drawings 58
- Menu Option Reference Chart 59
Sommario
ENGLISH1EIMPORTANT INFORMATIONPN-455LCD MONITORENGLISHIMPORTANT:To aid reporting in case of loss or theft, pleaserecord the product’s model and seria
10EINPUT2(RGB)OUTPUT(RGB)RS-232COUTPUTRS-232CINPUTSPEAKERR LAUDIO INR LAUDIO OUTR LINPUT4(VIDEO)ACINPUT1(DVI)INPUT4(S-VIDEO) PC AUDIOINPbC
ENGLISH11EPart Names - Remote Control UnitPOWER button(See page 24.)MUTE button(See page 25.)DISPLAY button(See page 25.)MODE button(See page 25.)VOL
12ECautions regarding remote control unit• Do not expose the remote control unit to shock. In addition, do not expose the remote control unit toliquid
ENGLISH13EConnecting Peripheral EquipmentThe various terminals on the LCD panel are described below.INPUT1 (PC DIGITAL)• Connect with the digital RGB
14EConnecting Peripheral Equipment (Continued)INPUT2 (PC ANALOG)• Connect with the display connector on your computer using a RGB cable (commercially
ENGLISH15EINPUT3 (COMPONENT)• Connect with component output terminals using a component cable (commercially available).• Connect with an audio output
16EINPUT4 (S-VIDEO/VIDEO)• Connect with equipment that has an S-video output terminal using an S-video cable (commerciallyavailable).*• Connect with e
ENGLISH17EAUDIO INR LINPUT4(VIDEO)Video connection cable (*2)(Red) (White)(Red) (White)Audio cableVideoAudio - RightAudio - LeftVideo cableOutput
18EConnecting External SpeakersSPEAKERR LExternal speaker terminals (right)RedRedBlackExternal speaker terminals (left)Be sure to use external
ENGLISH19EPlug (to power outlet)AC input terminalAC cordPlug (to the AC input terminal)Power outletMain power switchConnecting the AC CordTurn off the
2EIMPORTANT INFORMATION (Continued)WARNING: FCC Regulations state that any unauthorized changes or modifications to this equip-ment not expressly appr
20EConnecting Multiple Monitorsshows the signal flow.INPUT2(RGB)OUTPUT(RGB)INPUT2(RGB)RGB cableTo PC analog RGB output terminalPC analog RGB input ter
ENGLISH21EConnection example for RS-232CMonitors can be externally controlled using the RS-232C interface (COM port) of a PC, and, in this casetoo, mu
22EMounting the Temporary StandsTemporarystandScrew123Hole for the AC cord clampFastened partBandBundling CablesThe AC cord can be fastened using the
ENGLISH23EAttaching the Carrying HandlesScrewSpacerWhen carrying the monitor, attach the two carrying handles to the top of the monitor as shown below
24ETurning on PowerBefore turning on power, make sure that peripherals, external speakers, and the AC cord are connectedproperly.There are two power s
ENGLISH25ERemote Control UnitGenerally the monitor is operated using the remote control unit.INPUT (Input selection)Each time you press this button, t
26EMenu ItemsMenus can be displayed on the screen to enable video and audio adjustment and the setting of variousfunctions using the remote control un
ENGLISH27E• The menu displayed when you press the MENU button will differ depending on the type of input signal.2. Press MENU to display the GAIN CONT
28EMenu screen explanationYellow: Current settingBlue: Selectable itemsGray: Items that cannot be selected* There are various reasons why items cannot
ENGLISH29EInitialization (Reset)/Functional Restriction SettingIn the FUNCTION 1 screen, you can return contrast, image quality, and other settings to
ENGLISH3EThank you for your purchase of a SHARP LCD product. To ensure safety and many years oftrouble-free operation of your product, please read the
30ESettings and Adjustments ADJUSTMENT (INPUT2)[MANUAL / AUTO]Function Adjusts CLOCK, PHASE, H-POS (horizontal positioning), and V-POS (vertical posi
ENGLISH31E[MANUAL / AUTO]Function Adjusts BLACK LEVEL and CONTRAST.Adjustable range MANUAL / AUTOMANUAL The BLACK LEVEL and CONTRAST are manually adju
32E[CONTRAST] (INPUT3 / INPUT4)Adjustable range 0 - 31Default 15+ direction For more contrast– direction For less contrast[BLACK LEVEL] (INPUT3 / INPU
ENGLISH33E MODE SELECT 1[480 LINES] (INPUT2)Function Manually selects input resolution.Adjustable range 852 / 848 / 640Default 640[768 LINES] (INPUT2
34E MODE SELECT 2[OFF TIMER]Function Specifies the remaining time before turning off the power.Adjustable range 0 - 23Default 0[OSD H-POSITION]Functi
ENGLISH35E Switching the screen size (INPUT1 / INPUT2)WIDE ZOOM 1ZOOM 2Dot by DotNORMALDisplays image so it fills the screen vertically, while mainta
36EScreen display for adjustments (INPUT2)Before making adjustments in the ADJUSTMENT menu (see page 30), display an image to brighten theentire scree
ENGLISH37ESet-up information (INPUT1 / INPUT2)Depending on the type of computer or OS, you may need to install monitor set-up information on yoursyste
38EPC Operation▼ Rear viewRS-232C straight cableRS-232CINPUTTo RS-232Cinput terminal To COM portRS-232Cinput terminalPC connection1. One-to-one connec
ENGLISH39E2. Daisy chain connection from a single PC... Advanced operationConnect with RS-232C straight cable between the PC COM port (RS-232C conn
4Ee. When the product has been dropped or damaged.f. When the product displays an abnormal condition. Any noticeable abnormality in the productindicat
40EPC Operation (Continued)Example: VOLM0030POWR 1 (“ ” indicates a space.)* Be sure to input 4 characters for the parameter. Pad with spaces if n
ENGLISH41EAdvanced operationThis section explains commands for daisy chain connection. The basic communication procedure is thesame as in the “Basic o
42E<Commands for ID control>The command examples shown on this page assume the following connection and ID number set up.IDST...A monitor rec
ENGLISH43EIDSL...The parameter of this command sets the ID number indicating the monitor subject to thenext command.Example:IDSL0002 ← The next co
44E<Repeater control>This system has a function to allow setting of multiple monitors connected in a daisy chain using asingle command. This fun
ENGLISH45E<Response format in Advanced operation > Normal response• Response when no ID number has been setA response is returned when executi
46E If execution of the command is taking some timeIf execution of a command takes some time,WAIT may be returned as the returned value. Inthis case,
ENGLISH47EPower control/Input selection, etc.RS-232C command table<How to read the command table>Command: Command field (See page 40.)Direction:
48EPicture Adjustment (INPUT1)01234560-max value0-max value0-max value01201230123456781234501234560-max value0-max value0-max value—012012301234567812
ENGLISH49EPicture Adjustment (INPUT2)WWRWRWRWRWWRWRWRWRWRWRWRWRWRWRWRRWRWRWRWRWRWRASNCCLCKPHSEHPOSVPOSAGINBLVLCONTCTMPCRTRCRTGCRTBPXCKPXSLPXSLEMAGEPOS
ENGLISH5E- The TFT color LCD panel used in this monitor ismade with the application of high precisiontechnology. However, there may be minutepoints on
50EPicture Adjustment (INPUT3/INPUT4)0-max value0-max value0-max value0-max value0-max value12345123450-max value0-max value0-max value0-max value0-ma
ENGLISH51ESpecial ControlWRWRWWWRRWRWRWRWRWWRWRWRWRRRTIMER OFFOFF TIMERTIMER OFFRemaining timeSets the monitor’s ID number.Returns the monitor’s ID nu
52ETroubleshootingBefore calling for repair services, make sure following checks for possible remedies to the encounteredsymptoms.Problem Check item P
ENGLISH53E Warning when temperature risesNature of warning:• The power LED lights up red and the monitor enters standby mode.Solution:• If the monito
54ESpecifications Product SpecificationsModel PN-455LCD element 45" wide (113.1 cm diagonal) ASV low-reflection black TFT LCDMax. resolution (pi
ENGLISH55E Power managementThis monitor conforms to VESA DPMS and DVI DMPM. Both your video card and computer must supportthe same standard in order
56EPC Digital/Analog Signal Input Compatibility Chart• Video Analog RGB (0.7 Vp-p) [75 Ω]Conforms to DVI (digital visual interface) standard 1.0• Sync
ENGLISH57EConnector Compatibility Charts PC digital RGB input terminal pins(DVI-D 24 pin) PC analog RGB input terminal pins(Mini D-sub 15 pin)No.123
58EUnit: inch [mm]Dimensional DrawingsOpening height (21-7/8 [557])Opening width (39 [991])15-3/4 [400]7-8/7 [200]4-5/8 [119]3-3/4 [96]1/4 [7]42-7/8 [
ENGLISH59EMenu Option Reference ChartMODE SELECT1ENLARGEENLARGE POSMULTI ZOOMOFF, 2 x 2, 3 x 32 x 2: 0 to 3, 3 x 3: 0 to 8IMAGE ZOOMH-POSV-POS INPU
6EContentsIntroductionIMPORTANT INFORMATION... 1DEAR SHARP CUSTOMER .
60E INPUT3/4WHITE BALANCECONTRASTBLACK LEVELTINTCOLORSSHARPNESSWHITE BALANCE0 to 310 to 310 to 310 to 310 to 31COOL, •, STD, •, WARMMODE SELECT 2OFF
ENGLISH7EFeatures● HIGH-DEFINITION (HD) LCD PANEL•A large, flat LCD panel with 1920 x 1080 pixels lets you enjoy a detailed, high-definition picture.●
8ESupplied AccessoriesPOWERINPUTMENUMUTEDISLAYSIZEMODEREMOTE CONTROLLC-450FRRMCG1004MPPZBRIGHT +BRIGHT -INPUTMake sure the following accessories are p
ENGLISH9EPart Names - DisplayFront viewINPUTINPUTPower LED(See page 24.)Liquid Crystal Display panelRemote control sensor(See page 12.)* When using th
© 2020, manymanuals.it. Tutti i diritti riservati | 0.028 s |
 Manymanuals.com
 Manymanuals.de
 Manymanuals.fr
 Manymanuals.it
 Manymanuals.pl
 Manymanuals.cz
 Manymanuals.es
 Manymanuals-pt.com
Commenti su questo manuale