Sharp MX-FXX1 Specifiche Pagina 20
- Pagina / 36
- Indice
- RISOLUZIONE PROBLEMI
- SEGNALIBRI
- FACSIMILE EXPANSION KIT 1
- Notice for Users in Europe 2
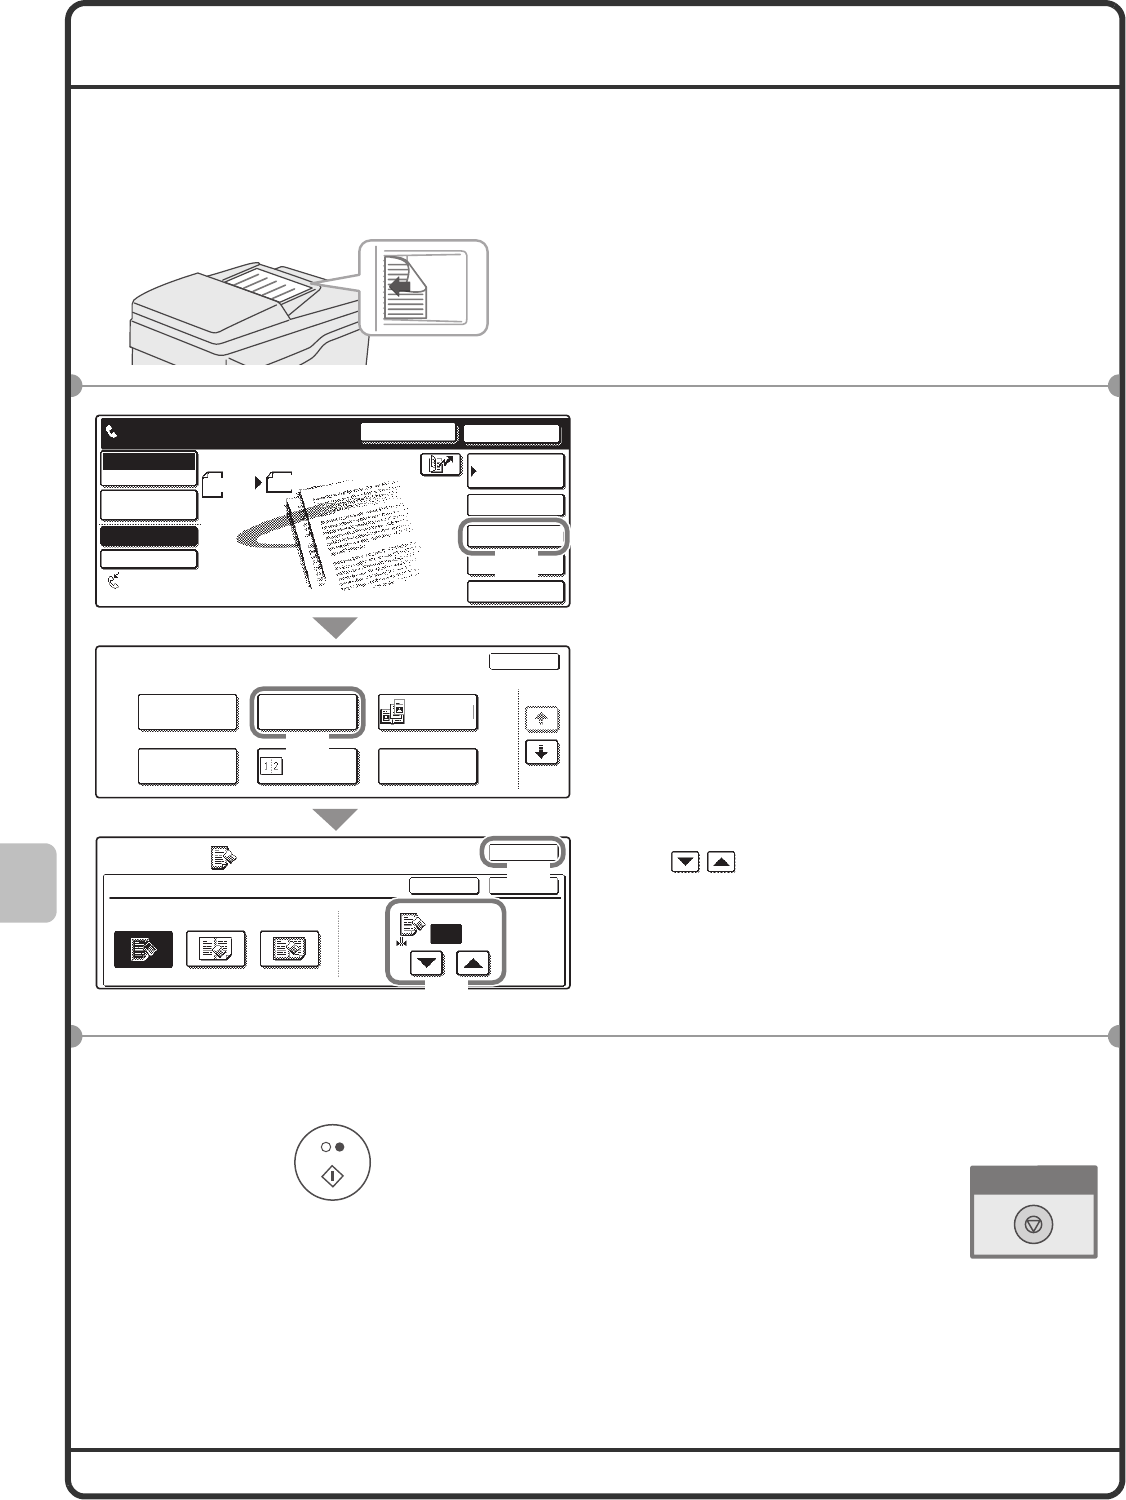
- Using the fax function 5
- SENDING A FAX 6
- SELECTING THE RESOLUTION AND 7
- EXPOSURE 7
- Changing the exposure 8
- Cancel scanning 9
- Correct a mistake 9
- STORING A FAX NUMBER 10
- (Continued) 11
- Storing a group key 12
- Place the original 14
- FORWARDING RECEIVED FAXES 16
- (Fax Data Forward) 16
- CONVENIENT DIALLING METHODS 17
- Dialling using the speaker 18
- Speed dialling 18
- SPECIAL FAX MODES 19
- (2) Touch the [Erase] key 20
- (4) Touch the [OK] key 20
- CONVENIENT FAX FUNCTIONS 21
- Transmission 22
- Troubleshooting 23
- Telephone line socket 25
- PROBLEMS RELATED TO RECEPTION 27
- INDIVIDUAL KEYS / GROUP KEYS 29
- Specifications 31
- SPECIFICATIONS 32
- Important safety information 33
- PRINTED IN FRANCE 36
- TINSE3060GHZ1 36
- MX-FXX1MODEL: 36
Prodotti e manuali riguardandi Macchina per mandare i fax Sharp MX-FXX1


 (162 pagine)
(152 pagine)
(162 pagine)
(152 pagine)

 (100 pagine) (108 pagine)
(104 pagine)
(100 pagine) (108 pagine)
(104 pagine)
 (130 pagine)
  (198 pagine)
(107 pagine)
(198 pagine)
(107 pagine)
© 2020, manymanuals.it. Tutti i diritti riservati | 0.067 s |
 Manymanuals.com
 Manymanuals.de
 Manymanuals.fr
 Manymanuals.it
 Manymanuals.pl
 Manymanuals.cz
 Manymanuals.es
 Manymanuals-pt.com
Commenti su questo manuale