Sharp AR-CF2 Manuale di Servizio Pagina 1
Navigare online o scaricare Manuale di Servizio per Fotocopiatrice Sharp AR-CF2. Sharp AR-CF2 Service manual Manuale Utente
- Pagina / 42
- Indice
- RISOLUZIONE PROBLEMI
- SEGNALIBRI
- SERVICE MANUAL 1
- [1] PRODUCT OUTLINE 2
- [2] SPECIFICATIONS 2
- 1. External components 3
- 2. Sensors and switches 3
- [4] OPERATIONAL DESCRIPTION 5
- [Paper loading] 6
- [Separation] 6
- [Leading-edge registration] 6
- [Transport] 6
- [Paper exit] 6
- (online) 7
- 4. Offline mode setting 8
- 6. Paper jam/error detection 10
- [5] DISASSEMBLY AND ASSEMBLY 11
- 2. Paper Feed Unit 12
- C. Reverse Roller 13
- D. Paper Guide 13
- 3. Drive Unit 14
- 4. Other Parts 14
- 5. Note on assembly 14
- [6] MAINTENANCE 15
- [7] TROUBLESHOOTING 16
- [8] ELECTRICAL SECTION 18
- 2. Circuit Description 19
- Reverse Sensor 20
- Tray Sensor 22
- (3) Motor Drive Circuits 23
- Registration CL 24
- Flapper SOL 24
- Not Mounted 24
- Operator Panel 25
- (9) Operator Panel Circuit 26
- LEAD-FREE SOLDER 30
- CIRCUIT DIAGRAM 31
- [1] BLOCK DIAGRAM 32
- [2] ACTUAL WIRING CHART 33
- Main Unit +24V 34
- JAM Cover Open/ 34
- Closed SW 34
- Main Unit +5V 34
- Finisher I/F 35
- 2. PARTS LAYOUT 36
- B. SOLDER SURFACE 37
- CAUTION FOR BATTERY DISPOSAL 41
- Trademark acknowledgements 42
Sommario
Parts marked with “ ” are important for maintaining the safety of the set. Be sure to replace these parts withspecified ones for maintaining the safet
AR-CF2 OPERATIONAL DESCRIPTION 4 - 66. Paper jam/error detectionA. List of Paper jamsB. Error detection(1) EEPROM errors Explanation:1) Timeout erro
AR-CF2 DISASSEMBLY AND ASSEMBLY 5 - 1[5] DISASSEMBLY AND ASSEMBLY1. Paper Feed Separation UnitA. Pickup Roller & Paper Feed Roller1) Open the to
AR-CF2 DISASSEMBLY AND ASSEMBLY 5 - 22. Paper Feed Unit A. Horizontal Pass Roller 1 and Registration Roller 1) Open the top cover. 2) Open the mount
AR-CF2 DISASSEMBLY AND ASSEMBLY 5 - 35) Remove the finisher latch cover. A: Horizontal pass roller 2 B: Timing roller C. Reverse Roller 1) Open the
AR-CF2 DISASSEMBLY AND ASSEMBLY 5 - 43. Drive Unit A. Belts 1) Open the top cover.2) Remove the rear cover.B. Gears 1) Open the top cover.2) Remove
AR-CF2 MAINTENANCE 6 - 1[6] MAINTENANCE1. Maintenance list ✕ Check ❍ Cleaning ▲ Replace ∆ Adjust ✩ Lubricate ❏ Move position(Clean, replace, an
AR-CF2 TROUBLESHOOTING 7 - 1[7] TROUBLESHOOTINGProblem The inserter does not perform at all when the main switch of the main unit is turned ON. Case
AR-CF2 TROUBLESHOOTING 7 - 2ProblemTray alarm is displayed on the system display. Case1 Cause Sub-tray pulling detection sensor fault Check and reme
AR-CF2 ELECTRICAL SECTION 8 - 1[8] ELECTRICAL SECTION1. Actual Wiring ChartReverse SensorPaper Exit SensorReverse Unit Open/ClosedSensorChassis Cove
AR-CF2 ELECTRICAL SECTION 8 - 22. Circuit DescriptionA. OutlineThis circuit controls paper feed, transport, reverse, and delivery.This circuit consi
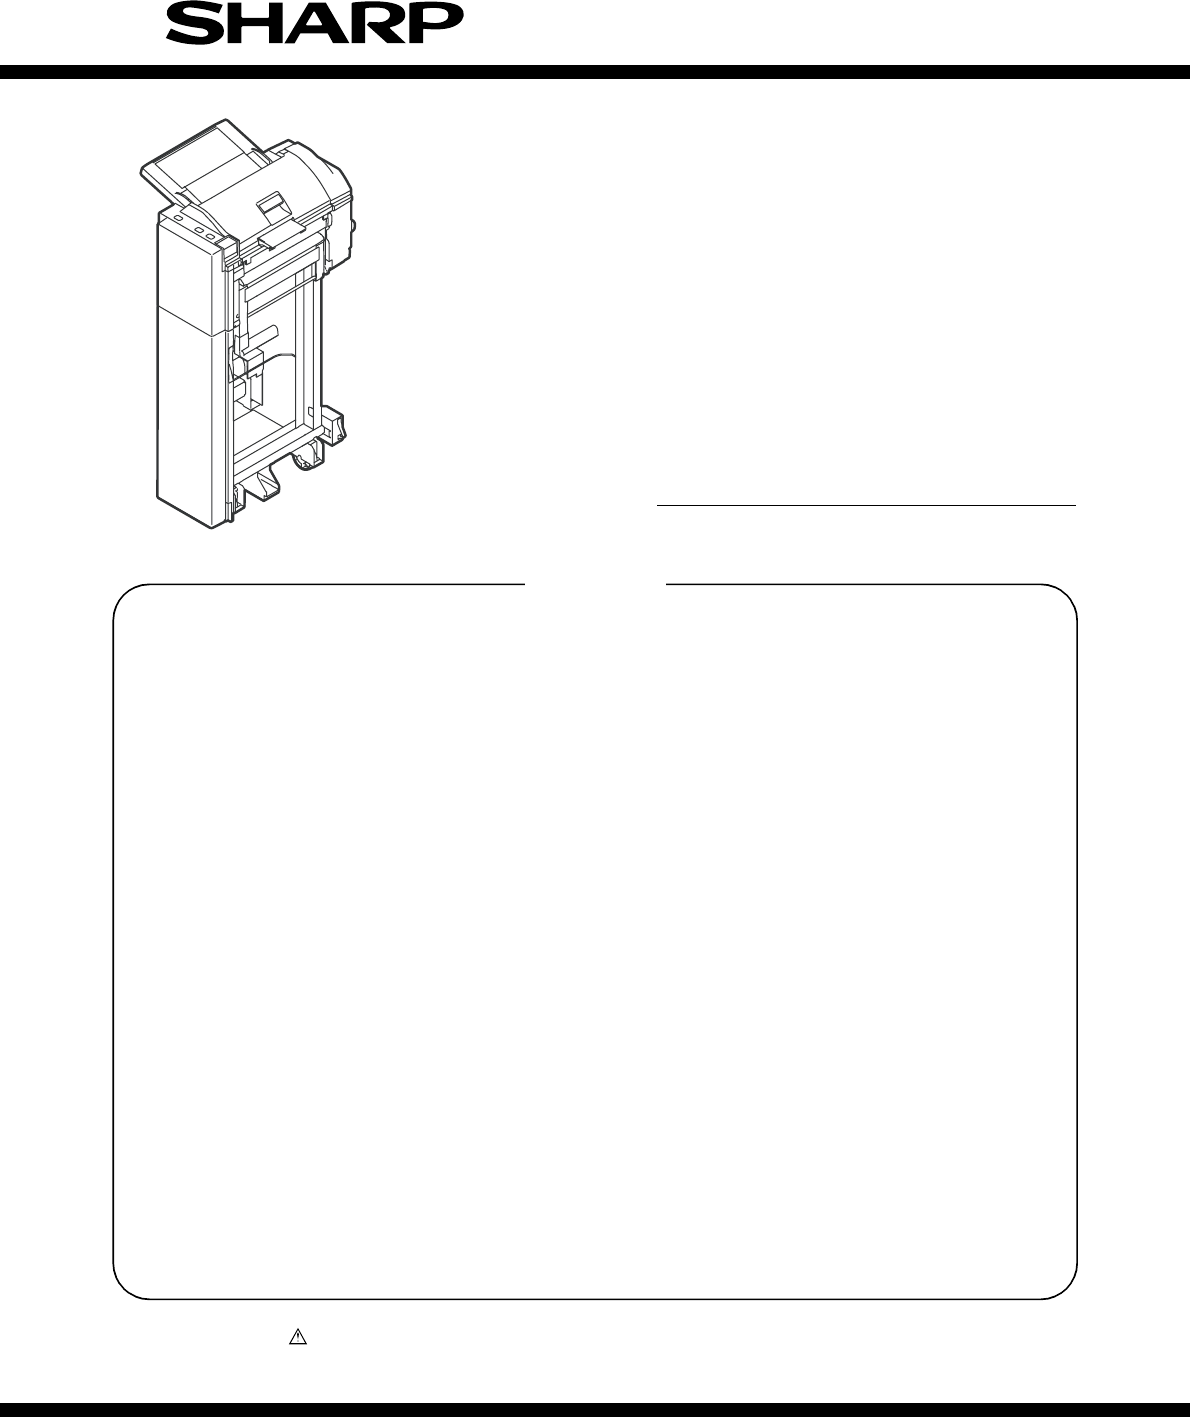
AR-CF2 PRODUCT OUTLINE 1 - 1[1] PRODUCT OUTLINEThis inserter is an optional unit for the AR-620 series of digital complexmachines. With the inserte
AR-CF2 ELECTRICAL SECTION 8 - 3C. Circuit Detail(1) Communication Circuit<1> TxD signal <2> RxD signalThis circuit communicates with the
AR-CF2 ELECTRICAL SECTION 8 - 4<2> Paper Exit Sensor (HI_SEN)HI_SEN uses the photointerrupter integrated with an LED and a pho-totransistor.Th
AR-CF2 ELECTRICAL SECTION 8 - 5<9> Paper Width Detection Potentiometer (T_VR)T_VR is a potentiometer.The paper width is detected using the out
AR-CF2 ELECTRICAL SECTION 8 - 6(3) Motor Drive Circuits<1> Paper Feed Motor Drive Circuit (K_MOT)This circuit rotates/stops K_MOT and controls
AR-CF2 ELECTRICAL SECTION 8 - 7(4) Flapper Solenoid and Registration Clutch Drive Circuit (F_SOL and R_CL)This circuit controls the flapper solenoid
AR-CF2 ELECTRICAL SECTION 8 - 8(7) Inrush Current Limiting CircuitThis circuit limits an inrush current flowing into the regeneration capac-itor inc
AR-CF2 ELECTRICAL SECTION 8 - 9(9) Operator Panel CircuitThis is the circuit of the operator panel board.The operator panel drive board turns each o
Memo
AR-CF2 EXTERNAL VIEWS AND INTERNAL STRUCTURES 3 - 1[3] EXTERNAL VIEWS AND INTERNAL STRUCTURES1. External components2. Sensors and switches156234No.
LEAD-FREE SOLDERThe PWB’s of this model employs lead-free solder. The “LF” marks indicated on the PWB’s and the Service Manual mean “Lead-Free” solder
CONTENTSParts marked with “ ” are important for maintaining the safety of the set. Be sure to replace these parts withspecified ones for maintaining t
AR-CF2 BLOCK DIAGRAM / ブロック図 1 - 1[1] BLOCK DIAGRAM Inserter Main Unit RXD0 SGND TXD0 DC+24VDC+24
AR-CF2 ACTUAL WIRING CHART / 実体配線図 2 - 1[2] ACTUAL WIRING CHART Reverse SensorPaper Exit SensorReverse Unit Open/ClosedSensorChassis Cover Open/Clos
AR-CF2 CIRCUIT DIAGRAM AND PARTS LAYOUT / 回路図と部品配置図 3 - 1[3] CIRCUIT DIAGRAM AND PARTS LAYOUT1. CIRCUIT DIAGRAM Main Unit +24VJAM Cover Open/Closed
AR-CF2 CIRCUIT DIAGRAM AND PARTS LAYOUT / 回路図と部品配置図 3 - 2no-mountingno-mountingno-mountingno-mountingno-mounting no-mountingno-mountingno-mountingno
AR-CF2 CIRCUIT DIAGRAM AND PARTS LAYOUT / 回路図と部品配置図 3 - 32. PARTS LAYOUT A. PARTS SURFACE CN2 CN3 CN1No. No. No.1 H_MOT_*B 1 N.C. 1 K_MOT_A2 H_MOT_B
AR-CF2 CIRCUIT DIAGRAM AND PARTS LAYOUT / 回路図と部品配置図 3 - 4B. SOLDER SURFACE
AR-CF2 EXTERNAL VIEWS AND INTERNAL STRUCTURES 3 - 23. Motors, solenoid, and clutch3 HI_SEN Paper exit sensor Photointerrupter Detects that a sheet t
LEAD-FREE SOLDERThe PWB’s of this model employs lead-free solder. The “LF” marks indicated on the PWB’s and the Service Manual mean “Lead-Free” solder
(Danish) ADVARSEL !Lithiumbatteri – Eksplosionsfare ved fejlagtig håndtering.Udskiftning må kun ske med batteriaf samme fabrikat og type.Levér det bru
All rights reserved.Printed in Japan.No part of this publication may be reproduced,stored in a retrieval system, or transmitted,in any form or by any
AR-CF2 OPERATIONAL DESCRIPTION 4 - 1[4] OPERATIONAL DESCRIPTION1. StructureA. Cross-sectional view (Main body)B. Drive system[List of actuators]2. F
AR-CF2 OPERATIONAL DESCRIPTION 4 - 2B. Normal paper feed operation of inserter (online/offline) [Paper loading]Step 01: A sheet is placed in the pap
AR-CF2 OPERATIONAL DESCRIPTION 4 - 3C. Reverse paper feeding operation of inserter (online)[Paper loading]Step 01: A sheet is placed in the paper fe
AR-CF2 OPERATIONAL DESCRIPTION 4 - 4[Exiting from reverse section]Step 17: When the reverse motor has completely stopped, the reversemotor starts to
AR-CF2 OPERATIONAL DESCRIPTION 4 - 5The correspondence between the punching/stapling mode settings and LEDs is shown below.∗ ●: means "Lit.&quo
Più documenti per Fotocopiatrice Sharp AR-CF2


Prodotti e manuali riguardandi Fotocopiatrice Sharp AR-CF2
 (200 pagine)
(12 pagine)
(56 pagine)
(208 pagine)
(19 pagine)
(4 pagine)
(68 pagine)
(200 pagine)
(12 pagine)
(56 pagine)
(208 pagine)
(19 pagine)
(4 pagine)
(68 pagine)
 (32 pagine)
(95 pagine)
(31 pagine)
(43 pagine)
(80 pagine)
(82 pagine)
(42 pagine)
(42 pagine)
(149 pagine)
(80 pagine)
(88 pagine)
(56 pagine)
(174 pagine)
(32 pagine)
(95 pagine)
(31 pagine)
(43 pagine)
(80 pagine)
(82 pagine)
(42 pagine)
(42 pagine)
(149 pagine)
(80 pagine)
(88 pagine)
(56 pagine)
(174 pagine)
© 2020, manymanuals.it. Tutti i diritti riservati | 0.035 s |
 Manymanuals.com
 Manymanuals.de
 Manymanuals.fr
 Manymanuals.it
 Manymanuals.pl
 Manymanuals.cz
 Manymanuals.es
 Manymanuals-pt.com
Commenti su questo manuale